 Restoration
Details
Restoration
Details
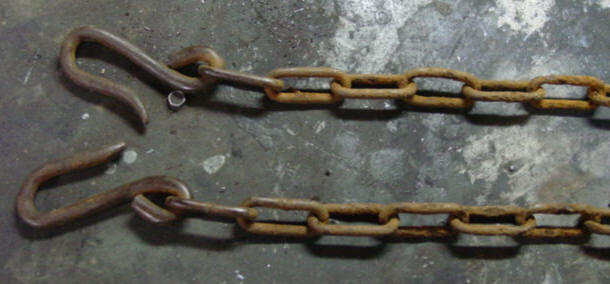 My tailgate chains were fairly rusted.... |
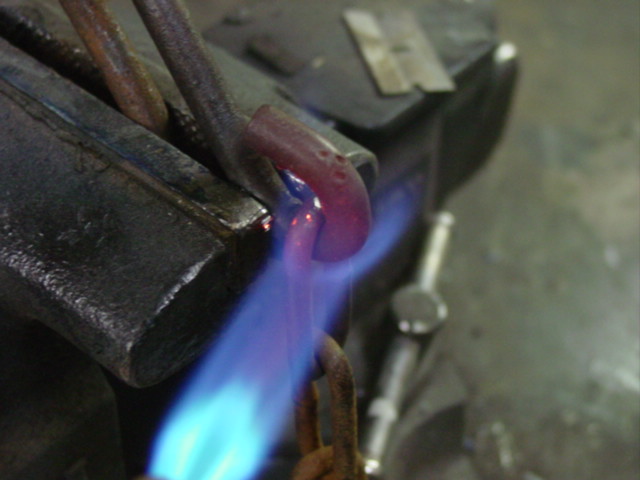 To remove the old chains, heat up the hook until red hot, then pry it open. Keeping it red hot, place the new chain on and hammer it closed. |
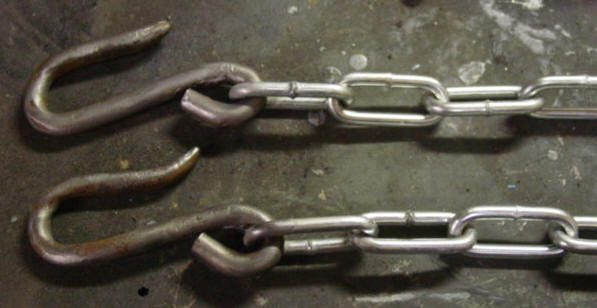 After a good turn on the wire wheel and some naval jelly, the tailgate chains are good as new! |
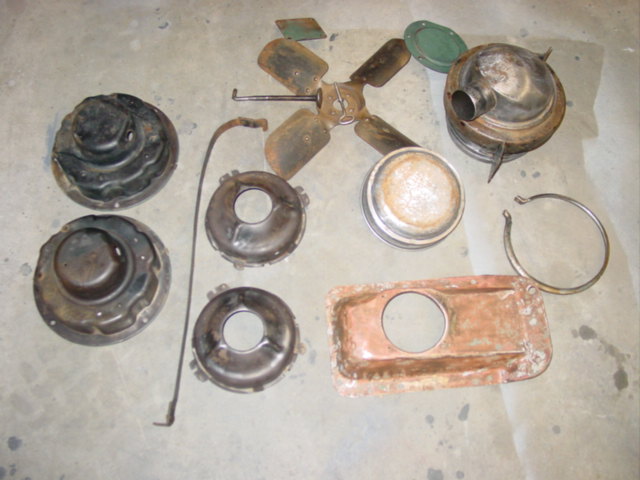 Small parts awaiting fresh paint. |
 The headlight buckets get painted the original dark brown color |
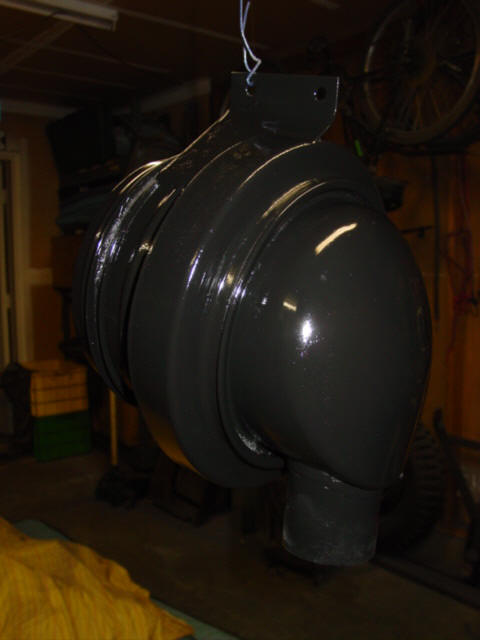 The Donaldson oil bath air cleaner gets a good sanding, cleaning, and fresh paint. |
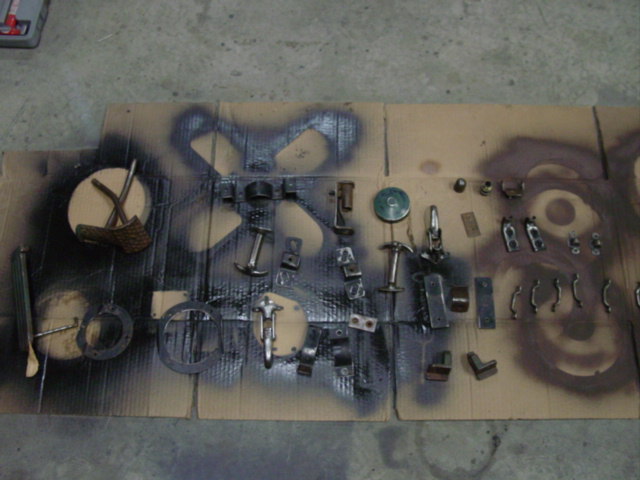 The rest of the small parts get cleaned and prepped for paint. |
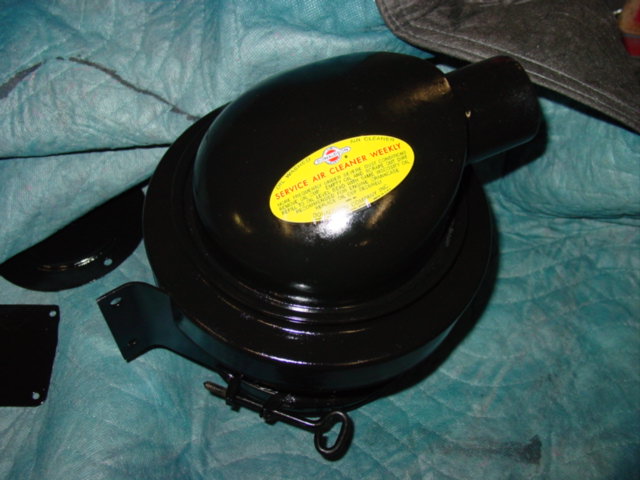 The air cleaner is reassembled and a new Donaldson label from Walcks is added. |
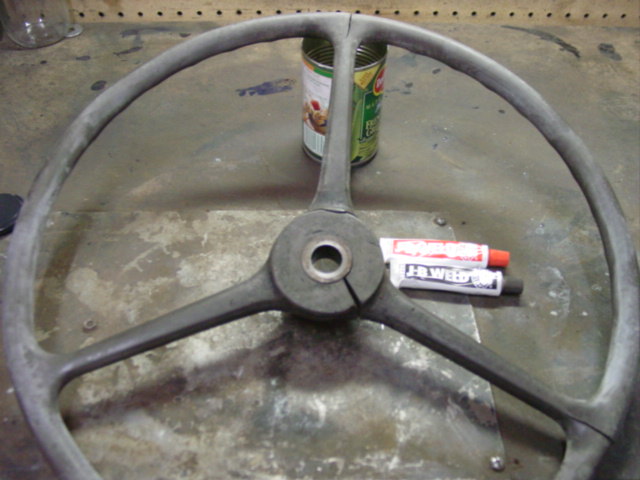 Now it was time to move on to restoring the original steering wheel. Several companies sell resto kits for your wheel, but I prefer just using a little J.B. Weld. |
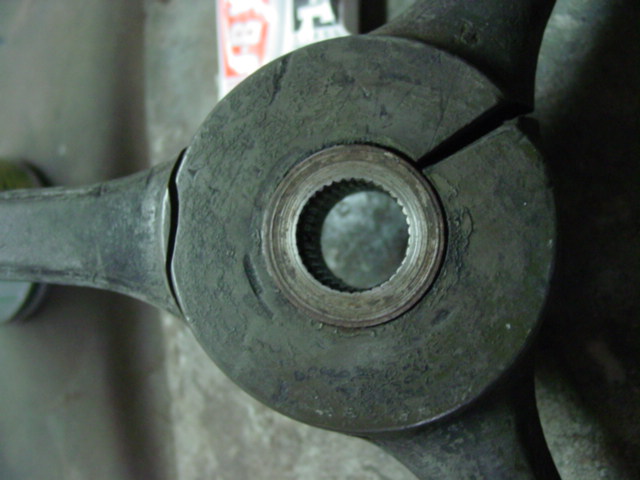 As you can see, I had some pretty big cracks. The first thing I did was degrease and clean the wheel thoroughly. Then simply apply the J.B. Weld. |
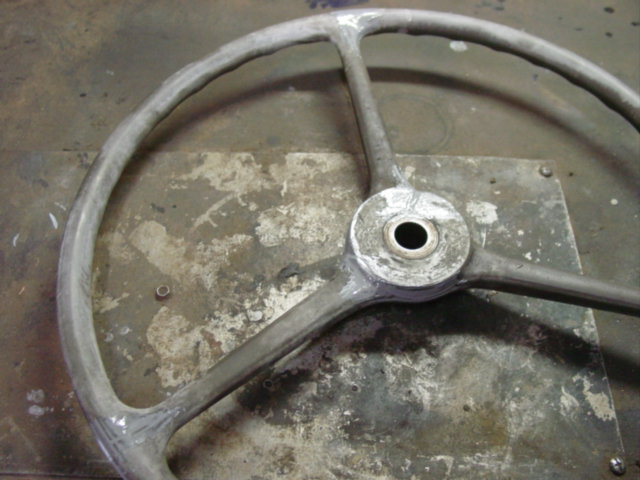 After letting it set up for a few hours, I use a razor blade to smooth the material out and remove any excess. |
 Once the epoxy dries, I used a die grinder to remove the excess, then sanded with progressively finer sand paper. |
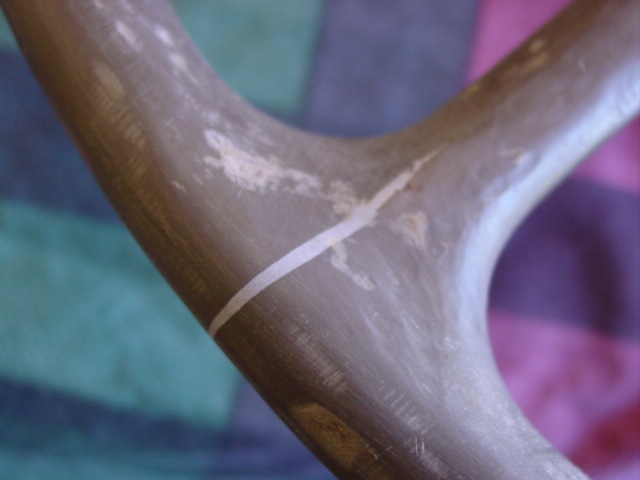 The cracks got filled in nicely |
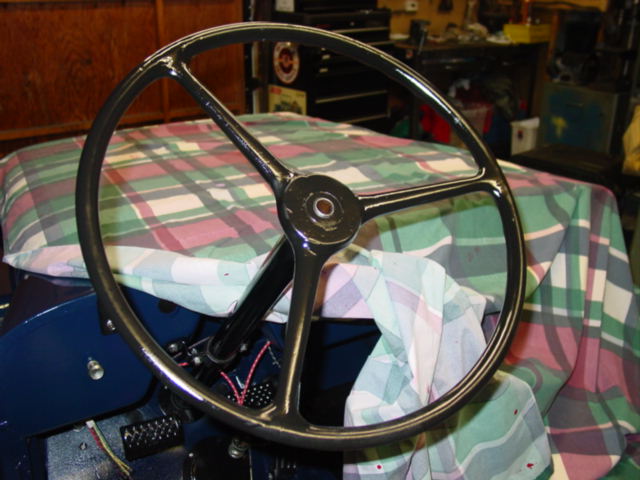 After a few coats of paint, the wheel is ready for install. Good as new! |
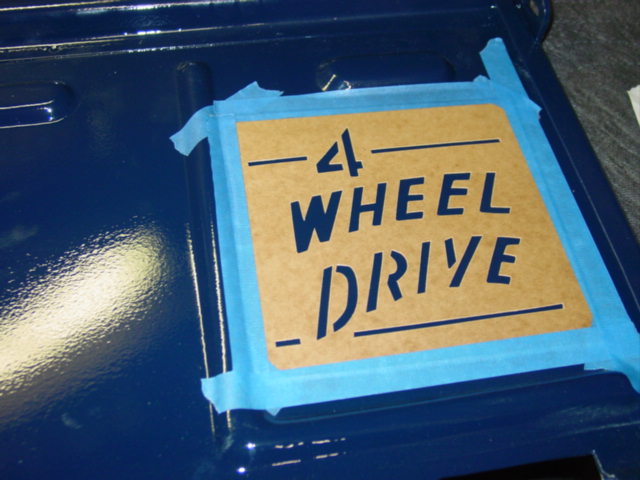 I got the 4 Wheel Drive stencil from Walcks. It was lined up according to factory specs found on the CJ3B page. |
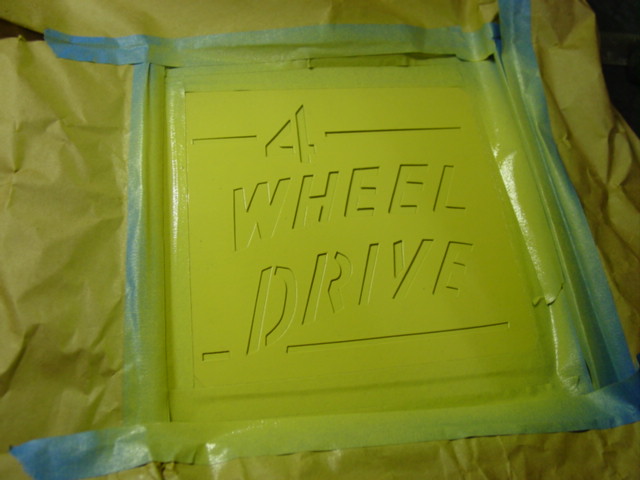 The color I picked was Wake Ivory, which in this photo looks pretty yellow. |
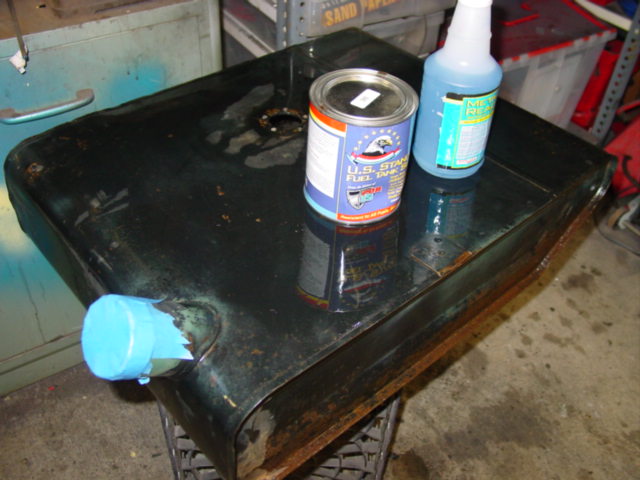 Instead of buying a new gas tank this time, I decided to try POR-15s gas tank restoration kit. |
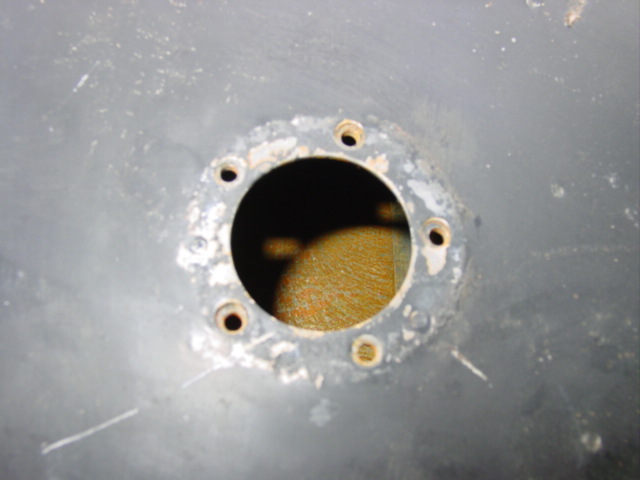 After a good rinsing with water, the Metal-Ready is poured in to prep the metal for paint. Here you can see the bare metal after being etched. |